Configuring Notification Actions
If additional notifications need to be configured for any Tool, they can be setup by an administrator using the Notification Action. For example, notifying a specific party if a record is rejected versus approved, etc. Notification Actions can be configured for any of the tools.
- From the Administrator Tools tab on the SmartSolve Portal Page, click Designer > Workflow Designer.
- Create a new workflow or open an existing workflow.
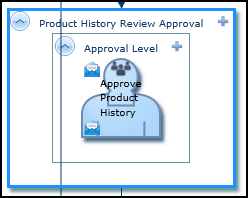
- On the design canvas, left click to highlight the toolobject.

- Click the On Submission, On Route, On Entryor On Exit tab in the Properties panel.
Result: The Validation Rules/Actions window is displayed. - Click the Add Action drop down button and select the Notification action option.
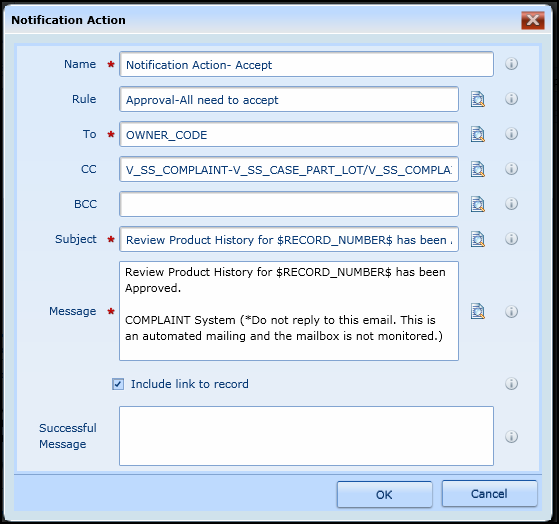
Result: The Action window is displayed.

- Enter the information in the following fields:
- Click the OK button to save the action.
| Field | Definition |
|---|---|
|
Name |
Enter the name of the action. |
|
Rule |
Associate a rule with the action, an example of which would be, if the action needs to be executed conditionally based on the result of the rule. |
|
To |
Enter the list of recipients to send the notification to. Either type an email address, or select a field containing a user code. |
| CC | Enter the list of recipients carbon copied in the notification. Either type an email address, or select a field containing a user code. |
| BCC | Enter the list of recipients blind carbon copied in the notification. Either type an email address, or select a field containing a user code. |
| Subject | Enter the subject of the notification. Either type static text, or select an entity field if you wish to add dynamic values to the subject of the email message. |
| Message | Enter the message of the notification. Either type static text, or select an entity field if you wish to add dynamic values to the message of the email. |
| Include link to record | Select this option if you wish to include a link to the record from the actual email message. When the user clicks on the link it would take them directly into the step in which they would need to sign-off or view. |
| Successful Message | Enter the message to display to the end user upon successful completion of the action. |